1.Wide applicability ,easy to install and maintain, long lifespan.
2.Very flexible, easily be curved to any shape.
3.Extremely luminous ,with wide viewing angle.
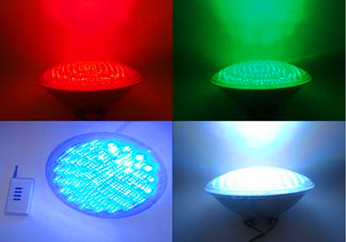
4.Various colors available.
5.Energy saving and environmental conservation.
All Kapor™ products can work with our Dimmer Controller to achieve more effects.
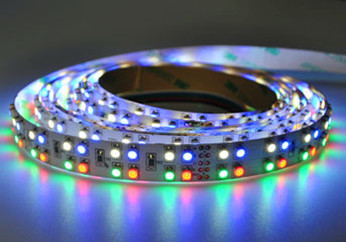
Features:
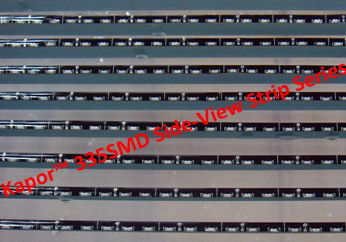
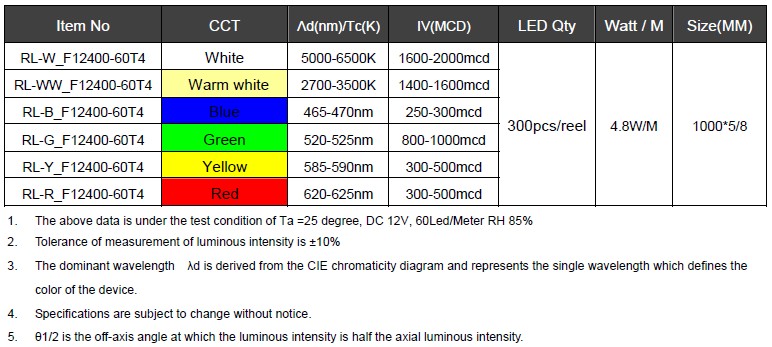
335SMD 4.5-6.5lm/LED High Quality Flexible LED Strips
1) 60leds/m 5meters/reel; can be cut by 3 LED per unit (DC12V) or 6LED per unit (24V)
And connect again by our accessories.
Input voltage: DC12V/0.34-0.4A/4-4.8W/M
2) Viewing angle: 120°
3) Available PCB color: yellow; white; black(Special)
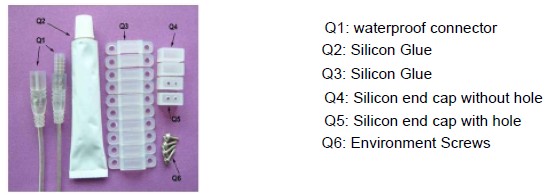
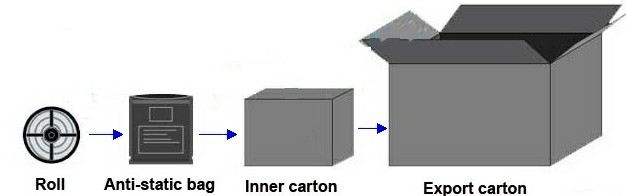
All strips come with 3M self adhesive back for easy installation. We recommend that you use hot melt/glass cement or equivalent to be achieve maximum adhesion. Besides in order to be stronger for strips installation and more convenient for our customers, IP67 and IP68 waterproof strips will be fixed with screws and clips. It is easy to help strip installation with our accessories
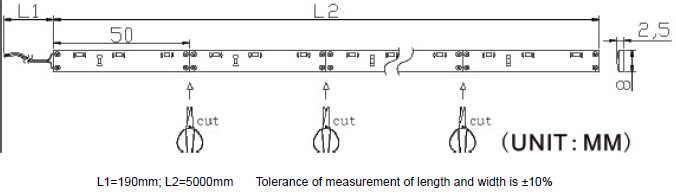
Dimension Drawing:
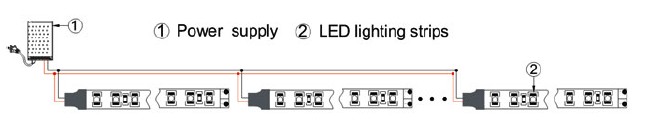
Connect Drawing:
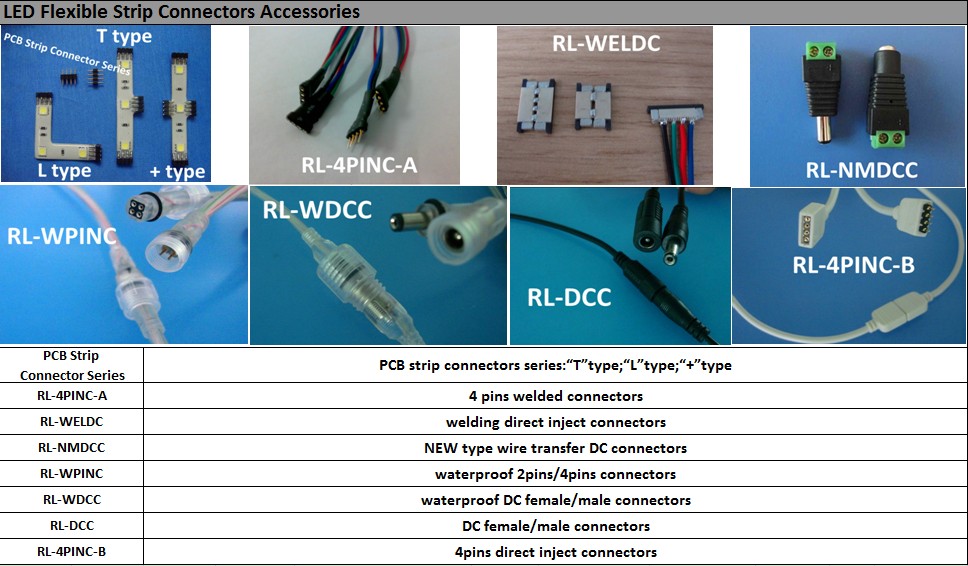
Accessories:
 Power Supply:

How to connect waterproof strips:
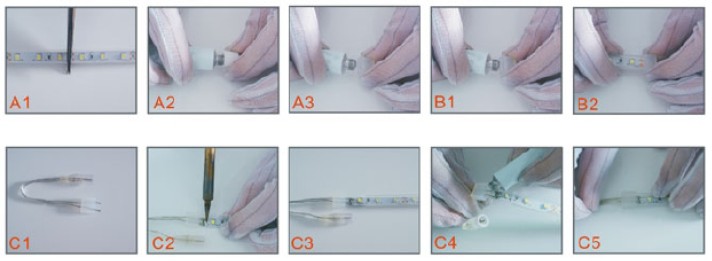
To cut and seal at one end, please follow the steps: A1 A2 A3 B1 B2
To cut and install waterproof connector at one end, please follow the steps: A1 A2 A3 C1 C2 C3 C4 C5
A1: Cut the light strip at the icon ” scissors” or by every 3 LED's.
A2: Screw to open the glue cap.
A3: Use the thrust (another side of glue cap) to puncture the surface.
B1: Inject the silicon gel into the end cap without holes.
B2: Push the strip into the cap and let gel dry for 1 hour.
C1: Put the connector wire through the end cap holes.
C2: Solder the wire onto the PCB.
C3: after solder the two wires, push the strip into the end cap with wires carefully.
C4: Inject the silicon glue at the end of strip and cap.
C5: Make sure end cap and strip are connected well and let gel dry for 1 hour.
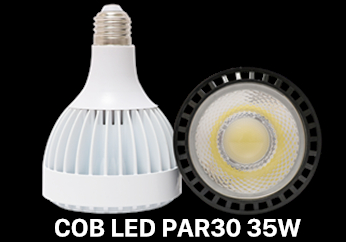
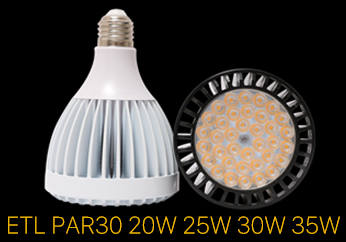
PAR30 LED Light Bulbs
Links: Commercial Lighting UK ![]()